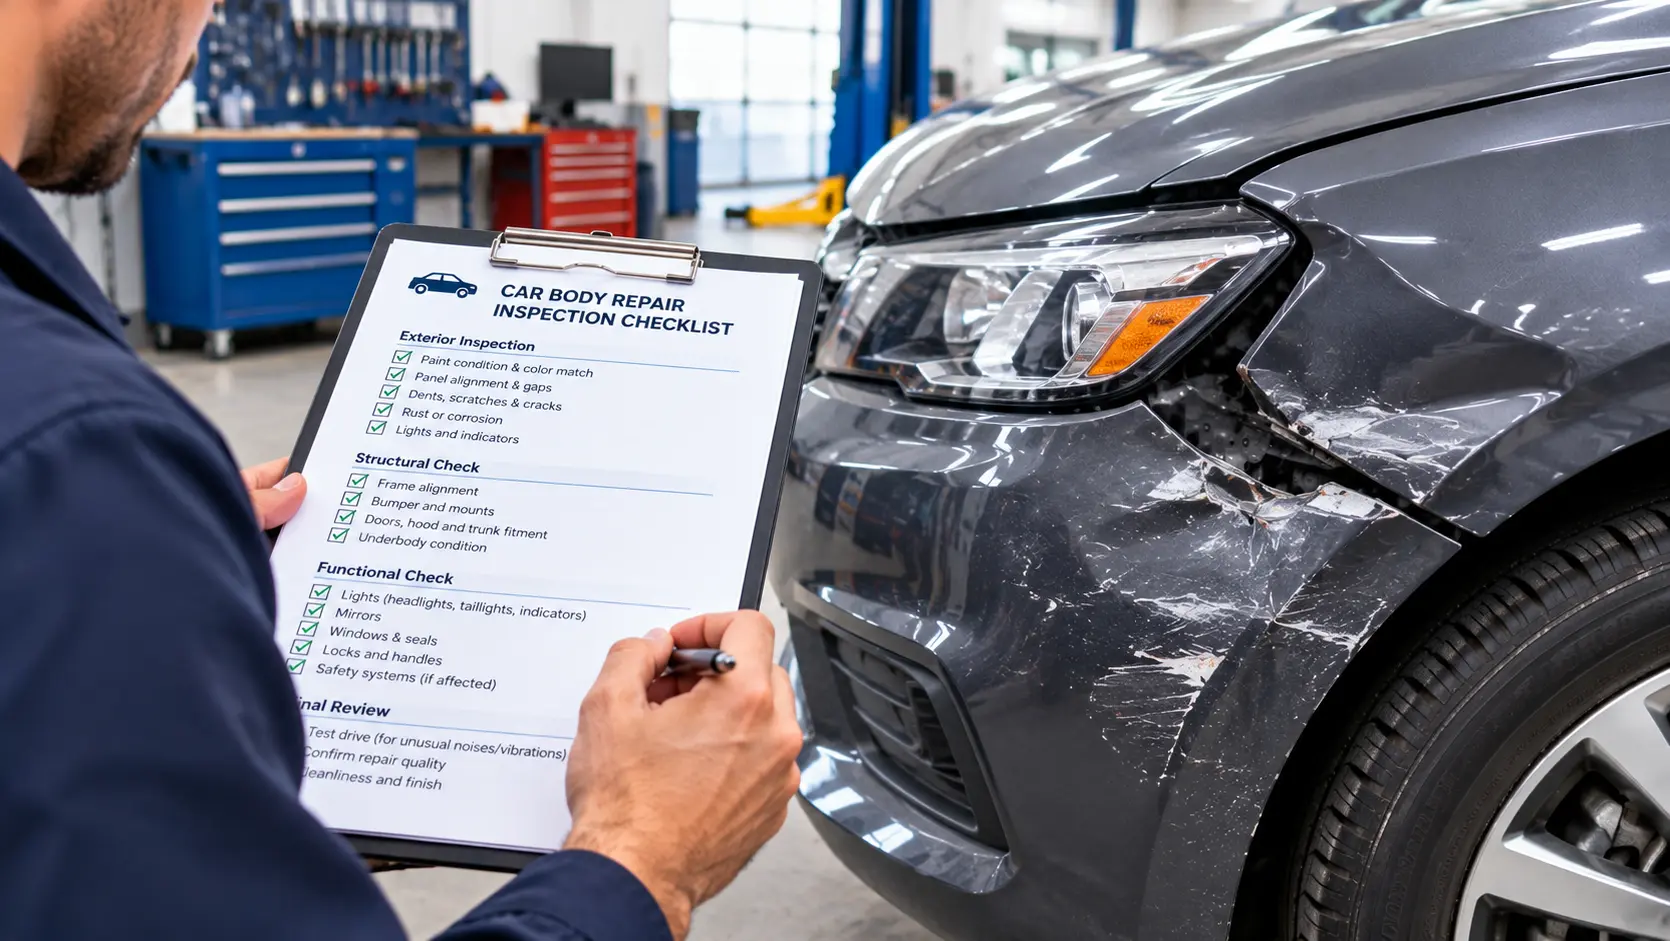
The body shop calls to say your car is ready after a bumper and wing repair. Under the workshop lights it looks perfect. A week later, in bright sun outside your office in Business Bay, you notice the new wing is a shade lighter than the door, there is a rough patch of paint near the edge and the parking sensor beeps at nothing. A simple car body repair inspection checklist at collection would have caught these problems while the body shop could still fix them easily.
Body repair involves many steps: removing parts, straightening or replacing panels, preparing surfaces, mixing paint, painting, curing, polishing and refitting. Each step can leave small faults behind. Most good body shops expect customers to check the car and will put right anything that is not up to standard.
This guide gives a step by step checklist for inspecting your car after body repair: paint colour and finish, panel fit, lights and glass, sensors and cameras, the interior and the paperwork. It explains what a good repair looks like, what common faults look like and what to ask before you leave. It also covers aftercare for fresh paint in Dubai heat.
Car Body Repair Inspection Checklist: Quick Answer
A good car body repair inspection checklist covers colour match in daylight from several angles, paint texture compared with nearby panels, runs, dust spots and overspray on trim and glass, even panel gaps, doors, bonnet and boot that open and close smoothly, lights fitted straight with no condensation, working sensors and cameras with no warning lights, a clean interior and an invoice listing the work, parts and warranty.
Shory advises collecting the job card, inspecting the car and then finalising the insurance claim. Inspect in daylight before you sign off, because faults are much easier to fix at handover than after you drive away.
Table of Contents
- Why Inspect a Car After Body Repair
- How to Prepare for the Inspection
- Colour Match in Daylight
- Paint Texture and Gloss
- Runs, Dust Spots and Sanding Marks
- Overspray on Trim, Glass and Rubber
- Panel Gaps and Alignment
- Doors, Bonnet, Boot and Fuel Flap
- Clips, Trim and Mouldings
- Checking Mirrors and Door Handles
- Lights and Glass
- Parking Sensors, Cameras and Driver Assistance
- Warning Lights and Electrical Checks
- Road Test for Noises and Handling
- Interior Cleanliness and Personal Items
- Checking Paint Thickness and Filler
- Checking a Bumper Repair
- Checking Wheels and Tyres Near the Repair
- Paperwork, Warranty and Insurance
- Aftercare for Fresh Paint in Dubai
- What If You Find a Problem After Collection?
- Signs of a Poor Structural Repair
- What to Do if the Car Has a Problem on the Way Home
- FAQ
- Conclusion
Why Inspect a Car After Body Repair
A body repair is only as good as its weakest step. A perfect colour match with a rough texture, or a smooth finish with uneven panel gaps, still looks wrong.
Checking at collection is fair to both sides. The body shop can fix small issues straight away, while the paint, tools and parts are still on site. Once you drive away, it becomes harder to show whether a mark was there before or happened later.
A proper inspection also protects your insurance claim. Shory advises collecting the job card and inspecting the car before finalising the claim.
How to Prepare for the Inspection
Ask the body shop to bring the car outside into daylight. Many paint faults, especially colour differences, only show in natural light. Workshop lights can make mismatched panels look the same.
Bring the photos you took of the damage before the repair, and the quote or job card listing the work. Use these to check that everything on the list was done.
Bring a phone torch. A torch held at an angle close to the paint shows texture, dust spots and sanding marks clearly.
Colour Match in Daylight
Stand back from the car, about three to five metres away, and look at the repaired panel next to the panels around it. The colour should look the same as the neighbouring panels.
Walk around the car and look from several angles. Metallic and pearl colours can look right from one angle and wrong from another. This is called flop. The repaired panel should change colour the same way as the original paint when you move.
Look at the car in direct sun and in shade if possible. A very slight difference may be acceptable on an older car with faded paint, but a clear mismatch should be corrected. A good paint and panel repair blends the colour into neighbouring panels to avoid a visible line.
Paint Texture and Gloss
Factory paint is not perfectly smooth. It has a slight texture, often called orange peel. A good repair copies the texture of the original paint, so the repaired panel does not stand out.
Look along the panel at a low angle with light reflecting off it. Compare the texture and gloss with the panel next to it. A repaired panel that is much glossier, much flatter or much rougher than the rest of the car will catch the eye.
Reflections of straight lines, such as buildings or poles, should look the same on the repaired and original panels.
Runs, Dust Spots and Sanding Marks
Check the repaired areas closely with your torch:
- Runs or sags: drips of paint, often on vertical panels and edges.
- Dust nibs: small raised bumps where dust landed in wet paint.
- Sanding marks: fine scratches under the clear coat or around the repair.
- Solvent pop: tiny pinholes in the paint.
- Edges of the repair: a visible line where new paint meets old.
Small dust spots can often be polished out. Runs, sanding marks and visible edges usually need the area reworked. Point them out before you leave.
Overspray on Trim, Glass and Rubber
Overspray is paint that lands where it should not. Check black plastic trim, rubber window seals, door seals, glass, lights, badges, tyres and the inside of wheel arches near the repaired area.
Overspray on glass or lights feels rough when you run your hand over it. On black trim it can look like a faint haze in the colour of the car.
A careful body shop masks these areas before painting. If you find overspray, ask for it to be cleaned off. A car detailing service can also remove light overspray and polish the car after repair.
Panel Gaps and Alignment
Panel gaps are the spaces between panels, such as between the door and the wing or the bonnet and the wing. Look along each gap and compare it with the same gap on the other side of the car.
Gaps should be even along their length and similar on both sides. Panels should sit flush with their neighbours, not stick out or sit in.
Uneven gaps can mean a panel, bracket or bumper is not fitted correctly. After a larger accident, they can also mean the car’s structure was not fully straightened.
Doors, Bonnet, Boot and Fuel Flap
Open and close every door that was near the repair, and the bonnet, boot and fuel flap. They should open smoothly and close with an even, solid sound, without needing to be slammed.
Check that door seals sit properly and that there is no wind noise or rattling when closed. Check that the bonnet catches securely and that the boot lid lines up with the tail lights.
Make sure the locks, central locking and any power boot or electric folding mirrors still work.
Clips, Trim and Mouldings
Bumpers, wheel arch liners and trim pieces are held by plastic clips that often break during removal. Check that all trim pieces are fitted firmly and that nothing rattles or flexes when pressed lightly.
Look under the bumpers and wheel arches. Arch liners should be fully fitted, with no missing screws or clips. Undertrays should be secure.
Check badges and emblems. They should be refitted in the correct position and level.
Checking Mirrors and Door Handles
If a door or wing was repaired, check the mirror and door handles on that side. Electric mirrors should fold, adjust and heat as before, and indicator lights in the mirror should work.
Door handles should feel the same as on the other side, and keyless entry sensors in the handles should still unlock the car when you approach with the key.
Lights and Glass
Check that headlights, tail lights, indicators, fog lights and reversing lights work. Look for even gaps around each light and check that they sit flush with the bumper and wing.
Look inside the lights for condensation or dust. A light that was not resealed properly can let in moisture, which can damage bulbs and LEDs.
If headlights were removed, ask whether their aim was checked. Badly aimed headlights can dazzle other drivers or reduce your view at night.
Check any glass near the repair for chips, scratches or overspray.
Parking Sensors, Cameras and Driver Assistance
Modern cars have parking sensors, cameras and radar units in the bumpers, grille, mirrors and windscreen. These often have to be removed and refitted during body repair.
Test the parking sensors front and rear by approaching an object slowly. They should beep normally and not sound when nothing is nearby. Check the reversing and surround cameras for a clear, correctly aimed picture.
If the car has adaptive cruise control, lane keeping or automatic braking, ask whether the radar and cameras were calibrated after the repair. Ask for proof of calibration if it was done.
Warning Lights and Electrical Checks
Start the engine and check the dashboard. There should be no new warning lights for airbags, ABS, parking sensors, lights or driver assistance.
Body repairs can disturb wiring and connectors behind bumpers, in door hinges and around lights. A new warning light after repair often means a connector was not refitted properly.
Check that the horn, washers and wipers work, especially if the front of the car was repaired. If a warning light appears, ask the body shop to scan the car before you leave.
Road Test for Noises and Handling
Take a short drive before you sign off, if the body shop allows it. Listen for new rattles, wind noise or rubbing from the repaired area. Drive over a few speed bumps and turn the steering from lock to lock.
If the car was hit hard enough to affect the suspension or wheels, check that it drives straight and that the steering wheel is centred. If the car pulls to one side or vibrates, the suspension or wheel alignment may need attention. A trained car mechanic near you can check the suspension and steering after a body repair.
Interior Cleanliness and Personal Items
Check the interior near the repaired area. Look for dust, sanding residue, grease marks on seats and door cards, and masking tape left behind.
Check that personal items you left in the car are still there, and that seats, mirrors and radio settings are as you left them.
Check that floor mats and boot carpets have been put back and that the spare wheel and tools are in place if they were removed.
Checking Paint Thickness and Filler
A paint thickness gauge measures how thick the paint is on each panel. Original factory paint usually reads within a fairly narrow range. A repainted panel reads thicker, and a panel with body filler under the paint reads much thicker.
Some body shops will show you gauge readings on the repaired panels. That helps confirm the repair was done as quoted, such as a panel that was meant to be repaired rather than heavily filled.
A small amount of filler is normal in dent repair. Very thick filler over a large area can crack later, especially with heat cycles in Dubai summers.
Checking a Bumper Repair
Bumpers are the most commonly repaired parts. After a bumper repair, press gently along the top edge and the corners. It should feel firm and not flex away from the body.
Check the gaps between the bumper and the headlights or tail lights, and between the bumper and the wings. They should be even on both sides.
Look underneath for missing clips and screws, and check that the number plate, fog lights and grilles are fitted straight. Plastic bumpers can show a slightly different texture after painting, so compare the finish with the other bumper.
Checking Wheels and Tyres Near the Repair
If the damage was near a wheel, check the wheel for kerb marks or bends that were not part of the quote. Check that the tyre has no cuts or bulges.
Look at the wheel arch liner and mud flap. They should be fitted firmly and not rub on the tyre when you turn the steering to full lock.
If the knock was hard, the wheel alignment may need checking even if the bodywork looks perfect.
Paperwork, Warranty and Insurance
Check the invoice or job card against the original quote. It should list the panels repaired, painted, blended or replaced, the parts used and the labour.
Ask what warranty covers the paint and the workmanship, and get it in writing. In the UAE, VAT at 5 per cent applies to most invoices, so check it is shown correctly.
For insurance repairs, Shory advises collecting the job card, inspecting the car and finalising the claim. Keep copies of the police report, claim number and invoice together.
Ask for any old parts if you want them, or for photos of the damage taken during the repair.
Aftercare for Fresh Paint in Dubai
Fresh paint is softer than fully cured paint, even after baking in a booth. Ask the body shop how long to wait before washing, polishing or waxing. Many body shops advise waiting several weeks before applying wax or a ceramic coating.
On summer days when the air passes 45°C, park in the shade where possible. Avoid brush car washes and pressure washing the repaired area for the first few weeks.
Wipe off bird droppings and tree sap quickly, because they can etch fresh paint in the heat. ArabWheels notes that extreme heat and UV can damage clear coat, so protecting the new paint matters.
What If You Find a Problem After Collection?
Some faults only appear after a few days, such as a rattle, a slight colour difference in a different light or a warning light that comes and goes.
Contact the body shop as soon as you notice it, with photos and a description. Most offer to correct genuine faults under their workmanship warranty.
If you are not sure whether the repair was done well, an independent vehicle inspection can check paint thickness, panel gaps and structural alignment.
Signs of a Poor Structural Repair
After a larger accident, the car’s structure may have been straightened on a frame machine. Signs that the structure was not fully corrected include uneven panel gaps that cannot be adjusted, doors that are hard to close, tyres wearing unevenly and a car that pulls on a straight road.
Ask the body shop whether the car was measured before and after straightening, and whether they can show the measurement report.
A professional car body repair after a major accident should include structural measurement, not just cosmetic work.
What to Do if the Car Has a Problem on the Way Home
If a light, panel or bumper comes loose on the way home, stop somewhere safe and contact the body shop. If you are on a highway, move to the hard shoulder rather than stopping in a live lane. Stopping in a live lane because of a breakdown brings a AED 1,000 fine and six black points under Article 98 of the UAE Federal Traffic Law. If the car cannot be driven safely, call roadside assistance.
If a warning light appears after you get home, a mobile mechanic can scan the car before you drive back.
A regular car service in Dubai after a body repair is a good time to check the suspension, wiring and lights near the repaired area. Choose a car garage near you that can check both the bodywork and the mechanical side.
FAQ
Here are the questions Dubai drivers most often ask after body repair.
How do I check paint colour after repair?
Look at the repaired panel next to its neighbours in daylight, from three to five metres away and from several angles. Metallic and pearl colours should change shade the same way as the original paint.
What is overspray on a car?
It is paint that lands where it should not, such as on trim, glass, rubber seals or lights. It feels rough on glass and looks hazy on black trim.
Why is my parking sensor beeping after repair?
The sensor may not have been refitted correctly, may be painted over or may need recalibrating. Ask the body shop to check and scan the system.
How soon can I wax new paint?
Ask your body shop. Many advise waiting several weeks before waxing or coating fresh paint, because it is still curing even after baking.
Why are panel gaps uneven after repair?
Uneven gaps usually mean a panel, bumper or bracket is not fitted correctly. After a larger accident, they can also point to structure that was not fully straightened.
Conclusion
A good car body repair inspection checklist covers colour match in daylight, paint texture, runs and dust spots, overspray, panel gaps, doors and bonnet, clips and trim, lights, sensors, warning lights, a short road test, the interior and the paperwork. Checking each one before you sign off lets the body shop fix small faults straight away. Careful aftercare in the first few weeks helps fresh paint survive Dubai heat.
Rapid Rev Garage is a full workshop at Al Khail Gate, 12th Street, Al Quoz Industrial Area 2, open until 9 PM and serving passenger cars across Al Quoz, Business Bay, Jumeirah, Al Barsha, Satwa, Downtown and the Sheikh Zayed Road corridor. Visit https://rapidrevgarage.com, send your car model and photos of the repair on WhatsApp, or get directions on Google Maps.
Rapid Rev Garage | Car Body Repair Inspection Checklist | Al Quoz, Dubai