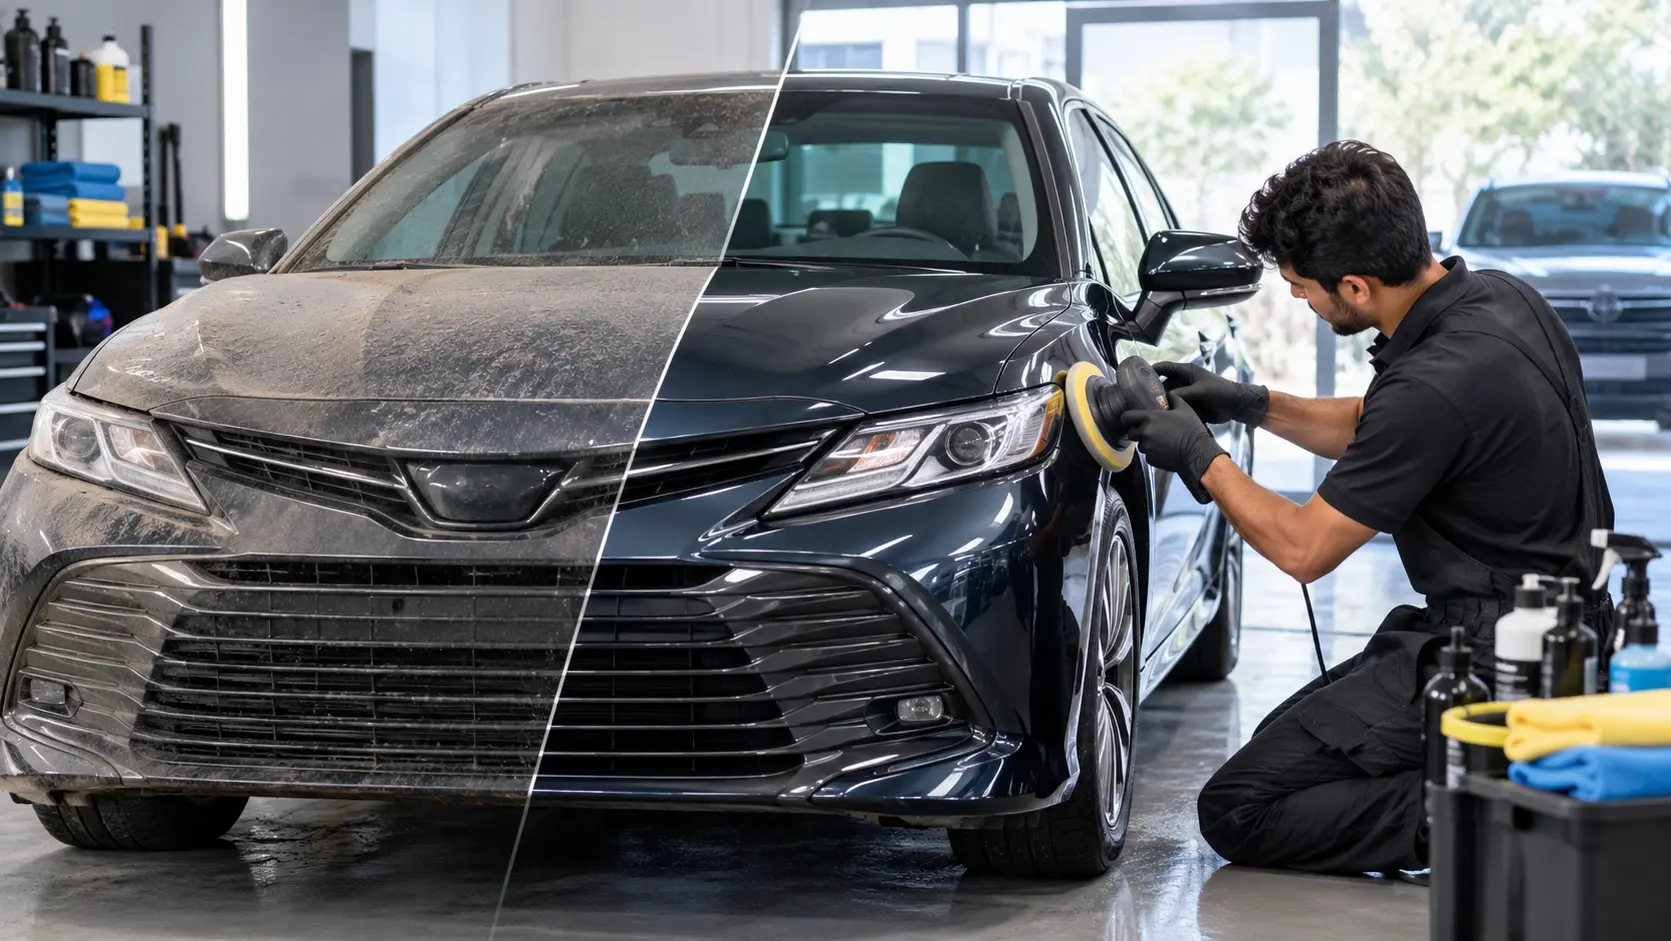
You collect your car after a full detail in Al Quoz. Under the workshop lights it looks perfect. Then you drive into the afternoon sun on Sheikh Zayed Road and notice fine circular marks on the bonnet, white residue around the badges and a sticky film on the dashboard. A few minutes with a simple car detailing inspection checklist before you pay would have caught all of it while the detailer could still fix it.
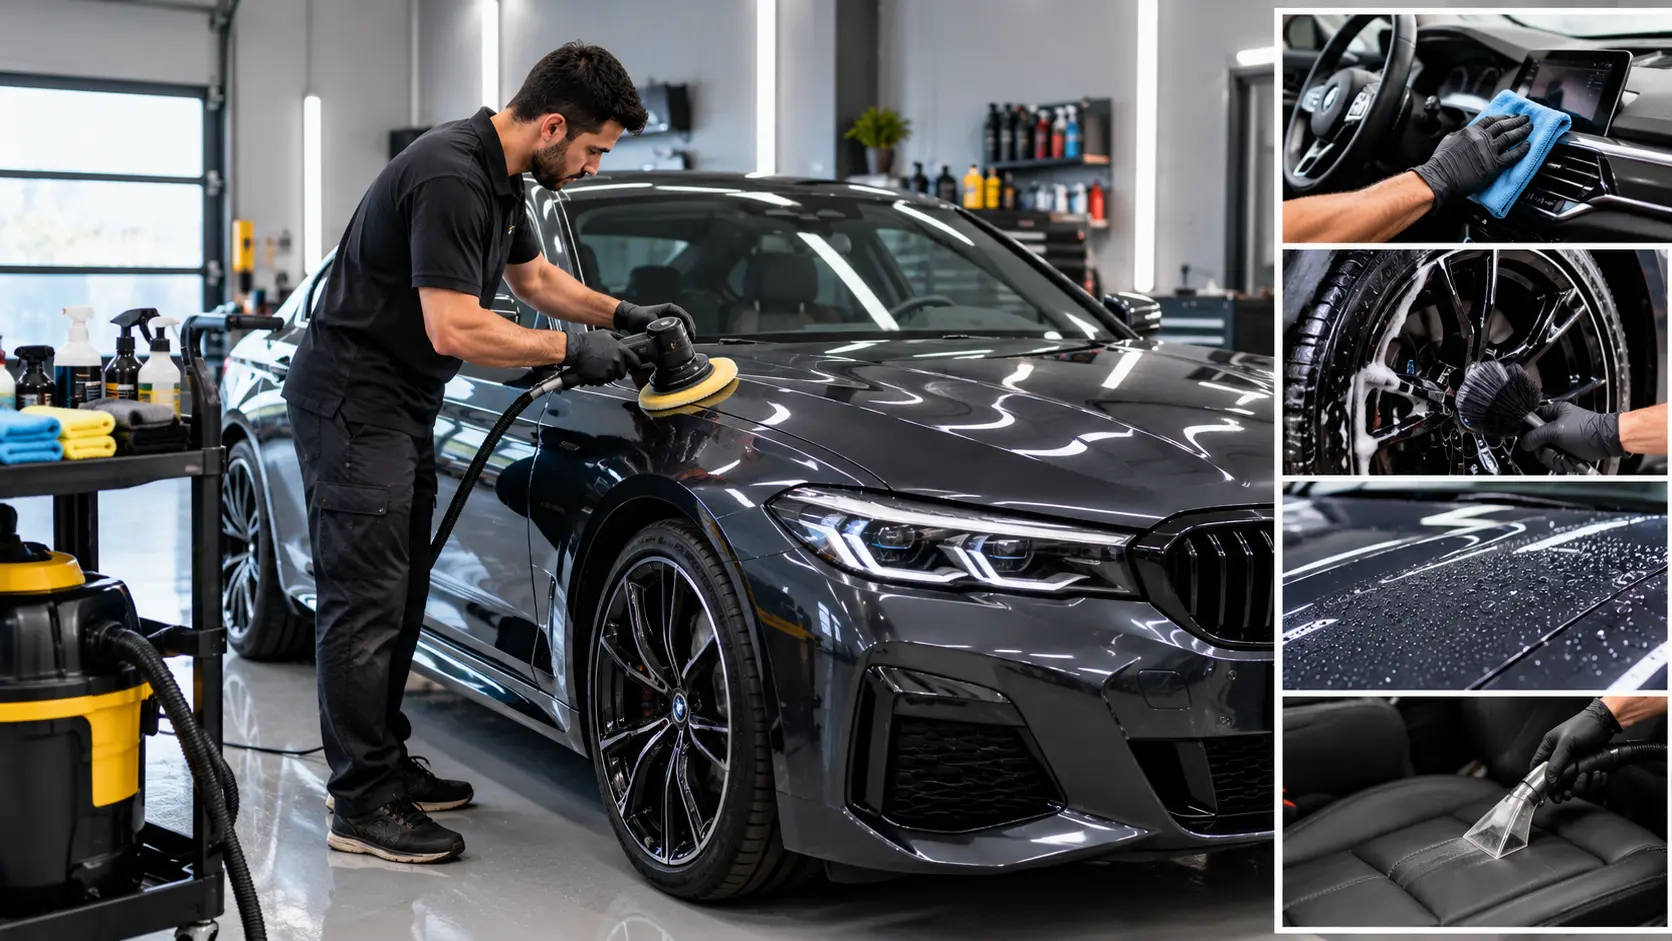
Professional detailing involves many separate steps on many surfaces. Even good detailers can miss a spot, leave polish in a panel gap or apply too much dressing. Checking the car carefully at handover is normal, and a professional detailer should welcome it.
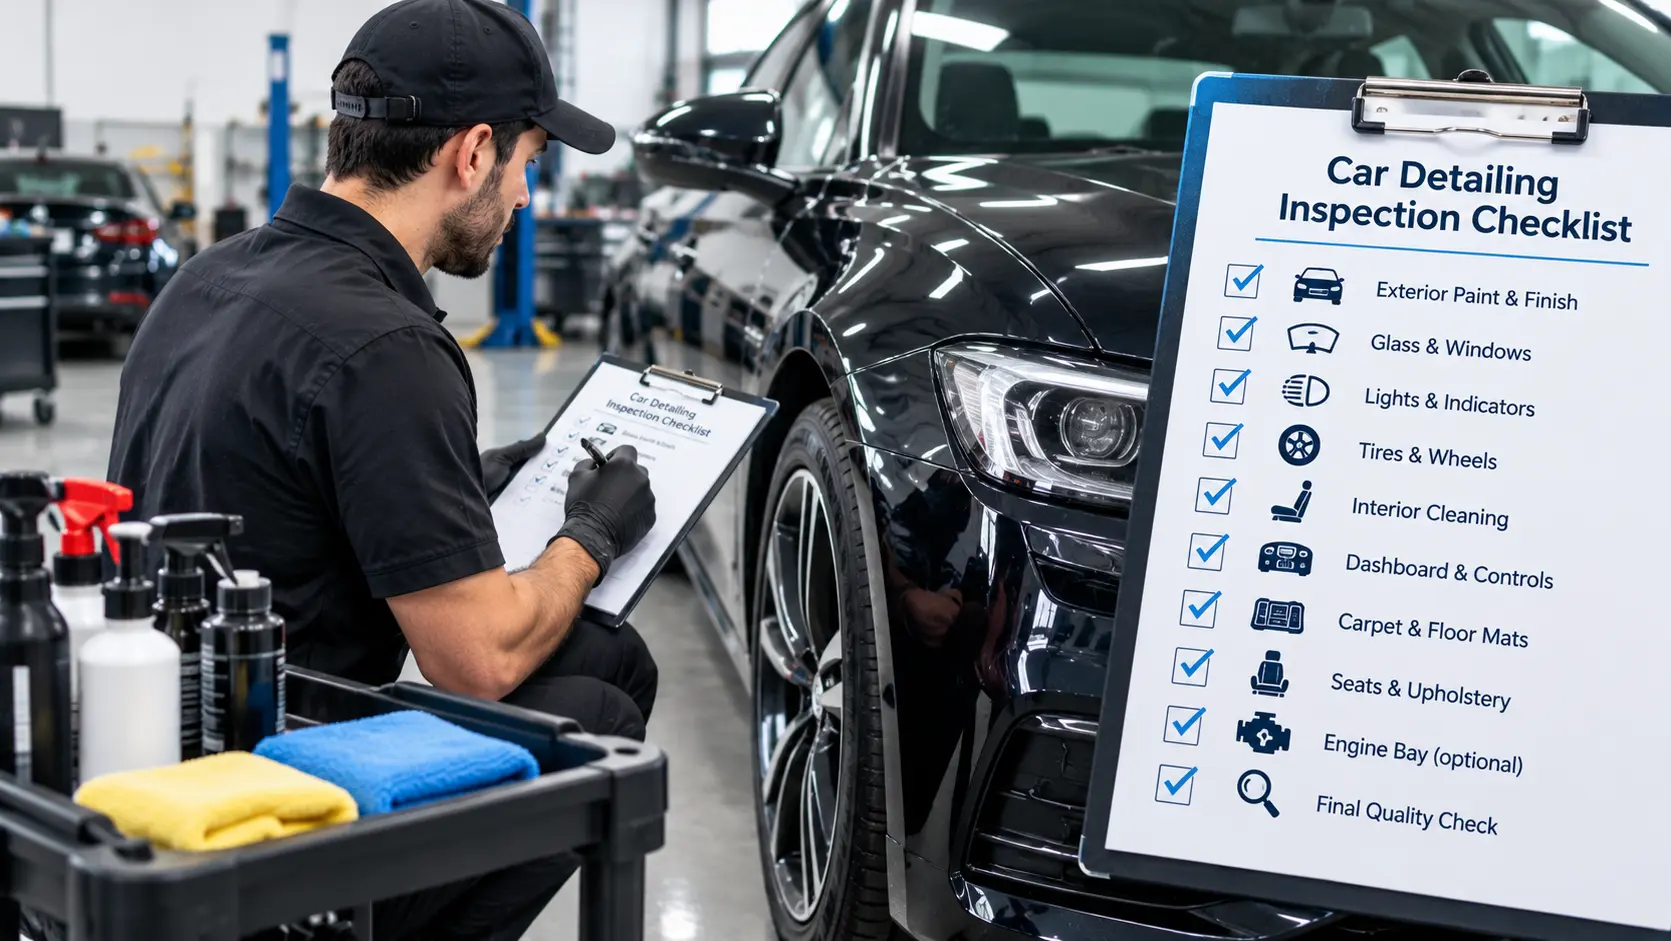
This guide gives a step by step checklist for inspecting a car after detailing: the paint, coatings, glass, wheels and tyres, door shuts, the interior, the AC vents and the engine bay. It explains what a good result looks like, what common faults look like and what to ask before you leave. It also covers how to check a ceramic coating, which needs a different eye from a wax.
Car Detailing Inspection Checklist: Quick Answer
A good car detailing inspection checklist covers the paint in direct sun and with a torch for swirls, buffer trails and high spots, panel gaps and badges for polish residue, black trim for white wax marks, glass for streaks and haze, wheel barrels and arches, tyre dressing that is not slinging, door shuts and fuel flap, seat rails and vents, a dry cabin with no damp smell, a matte dashboard and an engine bay with no water in connectors.
Ask exactly which product was applied and how to care for it. Point out any faults before you pay, so they can be fixed on the spot.
Table of Contents
- Why Inspect a Car After Detailing
- How to Prepare for the Inspection
- Paint Check in Direct Sunlight
- Swirls, Buffer Trails and Holograms
- Ceramic Coating High Spots
- Polish and Wax Residue in Gaps and Badges
- Black Trim and Rubber Seals
- Glass Inside and Out
- Wheels, Tyres and Arches
- Door Shuts, Fuel Flap and Boot Edges
- Interior Surfaces and Dashboard
- Seats, Carpets and Seat Rails
- AC Vents and Cabin Smell
- Engine Bay
- Checking for New Damage
- Checking a Mobile Detail Done in Your Car Park
- Checking Paint Correction Claims
- How Long Should a Detail Stay Looking Good?
- Questions to Ask Before You Pay
- Aftercare in the First Week
- What If a Detailing Problem Is Really a Car Problem?
- FAQ
- Conclusion
Why Inspect a Car After Detailing
A full detail can take many hours and dozens of steps, from washing and decontamination to polishing, coating and interior work. Each step leaves room for small misses.
Inspecting at handover is fair to both sides. The detailer can fix missed spots straight away, while the products and tools are still out. Once you drive away, it becomes harder to prove whether a mark was there before or appeared later.
A careful inspection also helps you judge value. If you paid for paint correction, the swirls should be clearly reduced. If you paid for an interior deep clean, sand should be gone from the rails and seams.
How to Prepare for the Inspection
Ask the detailer to bring the car out of the bay into daylight, or to show it under strong inspection lights. Many paint faults only show in direct sun.
Bring a phone torch. A torch held at an angle close to the paint shows swirls and scratches that look invisible under soft light.
Take before photos when you drop the car off, especially of any existing scratches, chips or dents. They help you compare the result and avoid disputes about old damage.
If you can, ask the detailer what was done to each area. A short walk around together is the quickest way to check the work.
Paint Check in Direct Sunlight
Stand back first and look at the whole car in daylight. The paint should look even, glossy and deep, with no dull patches and no streaky areas.
Then walk around the car slowly, looking at each panel from several angles. Reflections of straight lines, such as buildings or light poles, should look sharp. Wavy or blurred reflections can mean uneven polishing.
Pay attention to the bonnet, roof and boot lid. These flat, sun facing panels suffer most from UV and heat. ArabWheels notes that UV exposure and fine dust cause oxidation, which makes paint look flat and old.
Swirls, Buffer Trails and Holograms
Hold your phone torch close to the paint at an angle and move it slowly. Fine circular scratches around the light are swirl marks. If you paid for paint correction, they should be clearly reduced or gone.
Look for holograms or buffer trails. These are faint, shimmering lines that follow the path of a machine polisher. They show that the final polishing step was rushed or skipped. They are most visible on dark cars in direct sun.
Remember that polishing removes swirls and light scratches in the clear coat only. Deeper scratches that catch your fingernail will not come out. Those need paint and panel repair.
Ceramic Coating High Spots
If a ceramic coating was applied, look for high spots. These are areas where excess coating was not wiped off before it cured. They look like dark, oily smudges or rainbow patches, often near panel edges, badges and lower doors.
High spots are easiest to see at an angle in daylight or with a torch. They are much easier to remove within the first day than after the coating has fully cured.
Ask which coating was used, how many layers were applied and how long it needs to cure. ArabWheels lists ceramic coatings at about 2 to 5 years of life in UAE conditions, depending on the product. Keep any warranty card or certificate.
Polish and Wax Residue in Gaps and Badges
Polish and wax can collect in panel gaps, around badges, in the grille, along window seals and in the gaps around lights. It dries as a white or grey powder.
Check around the badges on the boot and bonnet, the edges of the headlights and tail lights, the number plate frames and the gaps between doors and wings.
Residue is easy to remove with a soft brush and a detailing spray if it is caught early. Ask the detailer to clean any you find before you leave.
Black Trim and Rubber Seals
Black plastic trim and rubber seals stain easily if polish or wax touches them. The marks look white or chalky and can be hard to remove once dry.
Check the window surrounds, the wiper cowl at the base of the windscreen, the mirror bases, the bumper trims and the roof rails.
If the package included trim restoration, the trim should look an even deep black, not greasy or patchy. A good trim dressing leaves a satin finish that does not smear when touched.
Glass Inside and Out
Look through the windscreen from the driver’s seat with the sun in front of you. Streaks, haze or wipe marks on the inside show clearly. The inside of the windscreen collects a film from plastics in the heat, so it needs careful cleaning.
Check the side windows by lowering them slightly. Dirt often hides along the top edge where the glass meets the seal.
If a glass coating was applied, water should bead and roll off. Ask how long to wait before using the wipers and whether any special washer fluid is needed.
Wheels, Tyres and Arches
Look at the wheels from close up. The faces should be clean, but also check the inner barrels behind the spokes, the area around the wheel nuts and the brake calipers. Brake dust often hides there.
Check the wheel arches. A full detail should leave them free of loose sand and mud.
Look at the tyre dressing. It should leave an even satin finish. A wet, heavy shine often slings onto the paint as you drive.
Run a finger along the tyre wall. If it comes away greasy, ask the detailer to wipe off the excess.
If you notice deep kerb scuffs on the wheels or low tyres, mention them. A tyre service can check pressures and damage.
Door Shuts, Fuel Flap and Boot Edges
Open every door, the boot and the fuel flap. Door shuts, hinges, sills and boot edges collect sand, grease and water spots, and they are often missed in quick details.
The shuts should be clean and dry, with no water running out when you open them. Check the rubber seals for dirt and the sill plates for scuffs.
Under the fuel flap, look for dried fuel stains and dust. On the boot edge, check the seal and the area around the lock.
Interior Surfaces and Dashboard
Sit in each seat and look around. The dashboard should look clean and even, with a matte or satin finish, not greasy or shiny. Greasy dressings attract dust and can cause glare on the windscreen.
Gulf News reports that UV slowly changes the chemistry of plastics and leather, causing fading and small cracks. A good UV protectant on the dashboard and trim slows this down, so ask which product was used.
Check the steering wheel, gear lever and door handles. They should feel clean, not sticky or slippery. Check screens and piano black trim for new fine scratches, which can be caused by dirty cloths.
Seats, Carpets and Seat Rails
Slide each front seat forward and back and look underneath. Sand and debris often hide in the seat rails and under the seats. A thorough detail removes them.
Check seat seams, the gaps between seat cushions and the sides of the centre console. Run your hand down the gap between the seat and the console.
Leather should feel soft and look clean, not shiny or slippery. Fabric seats and carpets should be dry to the touch. Damp carpets can grow mould in Dubai heat and cause a musty smell within days. If the seats are torn or worn through, a car upholstery service can repair them.
AC Vents and Cabin Smell
Switch the AC on full and check that the air coming out of every vent smells fresh. Vents and their slats should be free of dust.
A musty or damp smell can mean carpets were left wet after shampooing, or that the AC system itself needs attention. If the package included a cabin filter change or an AC treatment, ask to see the old filter.
A strong perfume smell is not the same as a clean cabin. Ask the detailer to use a light scent or none at all if you prefer.
Engine Bay
Open the bonnet. A detailed engine bay should look clean and dry, with plastics dressed in an even satin finish, not dripping or greasy.
Check that no water is sitting around the battery, fuse box or electrical connectors. Water forced into connectors can cause electrical faults.
After the detail, start the engine and check the dashboard for warning lights. A new warning light after an engine bay clean can point to water in a connector. If one appears, have it checked by an auto electrical repair technician.
Checking for New Damage
Compare the car with your before photos. Look for new scratches, chips, kerbed wheels, damaged trim clips or missing items.
Check that the mirrors, seats and steering wheel have been put back in your usual positions, and that radio and clock settings are unchanged after any battery work.
If you find new damage, raise it calmly before you leave and show your photos. A professional detailer will usually take responsibility for genuine damage caused during the work.
Checking a Mobile Detail Done in Your Car Park
Many Dubai residents book mobile detailing in a building car park or villa driveway. The same checklist applies, but some faults are more common.
Products dry faster outdoors. On a summer afternoon when the air passes 45°C, polish, wax and coatings can flash off too quickly on hot panels, leaving streaks or high spots. A careful mobile detailer works in shade, early in the morning or in the evening, and keeps panels cool.
Dust can also land on the paint during coating work in an open car park. Run the back of your hand gently over the bonnet after the job. It should feel smooth, not gritty.
Checking Paint Correction Claims
If you paid for paint correction, ask what level was done: a one step polish, or a two or multi stage correction. Each removes a different amount of defects.
Ask whether the detailer measured paint thickness before polishing. A paint depth gauge shows how much clear coat there is, which helps the detailer avoid polishing too thin on edges and older paint.
Some detailers tape off half a panel and polish the other half first, so you can compare before and after. Ask to see a test section if you are unsure what the correction achieved.
How Long Should a Detail Stay Looking Good?
A fresh detail should look clean for some time, but Dubai dust settles quickly. Within days, a car parked outside will have a fine layer of dust. That does not mean the detail failed.
What should last is the gloss under the dust, the protection that makes water bead and dust rinse off easily, and the clean interior. ArabWheels notes that wax only lasts about 1 to 3 months in UAE heat, so a waxed car loses its water beading sooner than a coated one.
If the paint loses its gloss or the water stops beading within a couple of weeks of a ceramic coating, contact the detailer and ask for an inspection.
Questions to Ask Before You Pay
Ask exactly which products were used on the paint, glass, trim, wheels and interior.
Ask how long the protection should last in UAE conditions and how to wash the car. ArabWheels notes wax lasts about 1 to 3 months in the heat, while ceramic coatings last about 2 to 5 years.
Ask when the car can first be washed and whether any products, such as harsh wash bay chemicals, should be avoided.
Ask whether any free top ups or inspections are included. Many coating packages include a check after a few weeks or months.
Get the invoice with a list of the services done and any coating warranty in writing. A professional car detailing service should be happy to give all of this.
Aftercare in the First Week
If a ceramic coating was applied, keep the car dry and out of rain or sprinklers for the time the detailer advises. Many coatings need several days before the first wash.
Avoid brush wash bays. They can scratch freshly polished paint and wear down protection.
Park in the shade where you can and use a reflective windscreen shade to protect the newly treated dashboard. Gulf News reports research showing a parked car’s cabin air can reach 70°C with dashboards near 100°C in summer.
Wipe off bird droppings and tree sap quickly, because heat bakes them onto the paint.
What If a Detailing Problem Is Really a Car Problem?
Sometimes a detail reveals a fault rather than causing one. A clean engine bay may show a fresh oil leak. A clean underbody may show a dripping coolant hose. Cleaning a car that has sat unused for weeks may also show that the battery is flat or a tyre is low.
If the detailer points out a leak or damage, have it checked by a car mechanic near you. If the car will not start after a long period parked, a mobile mechanic can check the battery at home.
If a fault appears on the road after collection, such as overheating from a leak, move to the hard shoulder rather than stopping in a live lane. Stopping in a live lane because of a breakdown brings a AED 1,000 fine and six black points under Article 98 of the UAE Federal Traffic Law. Once safe, call roadside assistance.
Book a regular car service in Dubai alongside your detailing plan so the mechanical side gets the same care. Many owners use a car garage near you that offers detailing and servicing in one place.
FAQ
Here are the questions Dubai drivers most often ask about checking a car after detailing.
What should I check after car detailing?
Check the paint in sunlight and with a torch, panel gaps and badges for residue, black trim, glass, wheel barrels, door shuts, seat rails, vents, cabin smell and the engine bay.
How do I spot ceramic coating high spots?
Look at the paint at an angle in daylight or with a torch. High spots appear as dark, oily smudges or rainbow patches, often near edges and badges. They are easiest to remove early.
Why is there white residue on my car?
It is usually dried polish or wax left in panel gaps, around badges or on black trim. A soft brush and detailing spray removes it if caught early.
Can detailing cause a warning light?
It can if water gets into electrical connectors during an engine bay clean. If a new warning light appears after a detail, have the connectors checked.
How long after ceramic coating can I wash?
It depends on the product. Many coatings need several days before the first wash. Ask the detailer for the exact cure time and aftercare steps.
Conclusion
A good car detailing inspection checklist covers the paint in sunlight and torchlight, coating high spots, residue in gaps and on trim, glass, wheels, door shuts, seat rails, vents, cabin smell, the engine bay and any new damage. Checking each area before you pay lets the detailer fix missed spots straight away. Asking which products were used and how to care for them helps the result last in Dubai heat and dust.
Rapid Rev Garage is a full workshop open 24 hours at Al Khail Gate, 12th Street, Al Quoz Industrial Area 2, serving passenger cars across Al Quoz, Business Bay, Jumeirah, Al Barsha, Satwa, Downtown and the Sheikh Zayed Road corridor. Visit https://rapidrevgarage.com, send your car model and the detailing work you need on WhatsApp, or get directions on Google Maps
Rapid Rev Garage | Car Detailing Inspection Checklist | Al Quoz, Dubai